Pages

Monday 16 July 2012

NOTD: Leopard Print!

I decided to do a little bit of nail art on my nails this week as I was becoming bored of the usual plain colour! So I got my topshop nail art pen out and did the simplest nail art you can...Leopard Print!


Simple but effective :), for this look I used:
Models Own Nude Beige x2 coats
Barry M Gold Foil
Topshop Nail Art Pen in Nightrider
1 coat of China Glaze No Chip Top Coat
& 1 coat of Seche Vite!

I am finding the combination of these two top coats is making my nail varnish last a few days longer, which is fantastic for me as I usually need to reapply after less than a day! The addition of OPI Nail Envy when I remember as a base coat also helps really well!

Saturday 7 July 2012

Sally's Haul!

Every so often I take a trip to Sally's on a Saturday morning with my boyfriend and today was the day we went, I was super excited to find the Minnie Mouse collection in stock :). 

Here's my haul!
Vintage Minnie Mouse minis, Nothin' Mousie 'Bout It & The Amazing Spiderman minis!

First up...The Amazing Spiderman...


Such pretty shades!
Top to Bottom: Into the Night, Number One Nemesis, Just Spotted the Lizard! & Your Web or Mine?

Next up Vintage Minnie Mouse collection...


Click on the images to make them bigger! The bottom right is a beautiful glittery pink filled with pink hearts :) definitely my favourite!
Top to Bottom: I'm All Ears, If You Moust You Moust, The Colour of Minnie & Nothin' Mousie 'Bout It.

I love the OPI mini collections! And my favourite so far is definitely the Minnie Mouse one and I've had quite a few of them :).

Monday 2 July 2012

NOTD - Pretty & Polished!

Today's NOTD is a really unusual one for me...I'm normally one for bright colours or a pastel colour or at least some sort of nail art! and for today I've kept it really simple with Models Own - Nude Beige!


This colour is very classic, it makes my nails look longer, and so sophisticated and classic!
I quite like a nude nail for a change :)

Saturday 30 June 2012

NOTD -- Newspaper Nails!

I have seen these nails done and had to try them for myself! They are so unique and I love that about them!
Totally simple to do as well!


For the base colour I chose a nice creamy lilac called Chilled Lilac by Max Factor!

Here is a quick step by step for you if you want to try them yourselves!
1. Paint your nails in a pale colour until the desired opacity is given.
2. When nails are FULLY dry dip them one by one in Vodka or Alcoholic Mouthwash.
3. Press a square of newspaper on to the nails and carefully peel off.
4. When dried seal with a top coat.

...and Voila you will have lovely unique nails!

Monday 25 June 2012

NOTD -- Buzzy Bees!

Today's NOTD is my first Topshop block colour, I have a couple of glitters but this is my first block colour!
How cute are the Topshop bottles? They apply really well! Well worth the £5 price tag or £4.50 with 10% student discount :)

I present to you Topshop's - Bee's Knees


I love this colour! It's a really on trend colour at the minute, it's not pale enough to be a lemon pastel but not bright enough to be a darker yellow! Now, please let the sunshine!


Sunday 10 June 2012

NOTD - Girly Sparkles

This is actually my NOTD I did on Tuesday but forgot to post up until now!
I give you the super sparkly, girly, amazing Models Own Pink Fizz!


This is 2 coats of Pink Fizz on its own with no base colour underneath!
I love Models Own glitter polishes for the opacity! 

Friday 8 June 2012

I've been baking...

For the last two days I've caught the baking bug more and more have baked two seperate things, so I've decided to show some pictures and share some recipes for the cakes I've created!
My cakes are not perfect and this is my first attempt at piping icing using this tool from Lakeland.

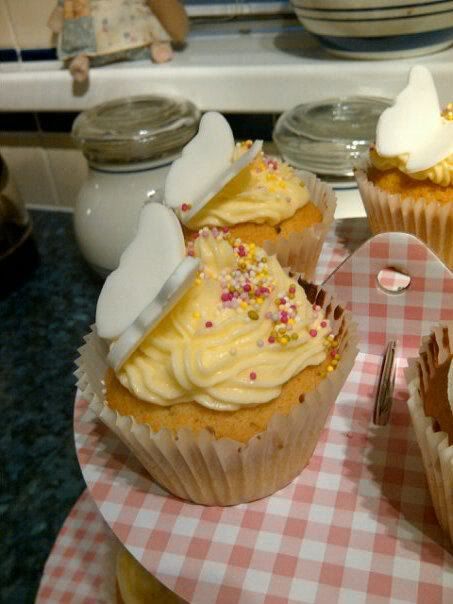
First up some plain cupcakes with buttercream icing.
I found a recipe on Milly's blog from Pearls and Poodles and as her cakes are always gorgeous I decided to give it a go! So it goes like this:

Ingredients for 12-14 cupcakes:
4oz Caster Sugar
4oz Butter (at room temp or you'll be mixing for ages)
Capful of Vanilla Extract
2 Large Free Range Eggs
6oz Self Raising Flour

Recipe:
1. Add the butter and sugar together in a bowl and mix together until combined, add a capful of vanilla extract and beat until soft and fluffy.
2. Add your eggs and mix in.
3. Add self raising flour until light, smooth & creamy. Do NOT overwork the mixture.
4. Add cupcake mixture to your cases evenly and bake at 180 degrees for 10-15 mins.
5. Remove and allow to cool fully before you decorate them.

Buttercream Ingredients:
8oz Butter
16oz Icing Sugar

Recipe:
1. Soften butter until smooth.
2. Add icing sugar bit by bit or it will go everywhere!
3. With patience and a delicate touch you will get light, smooth, sweet buttercream.
4. Add any food colourings at this point.
5. Pop mix starting from the edges to the middle.
6. Decorate as you wish. I used 100's & 1000's and Pink glimmer sugar.


I used some Dr Oetker ready to roll Regal icing for the butterflies.


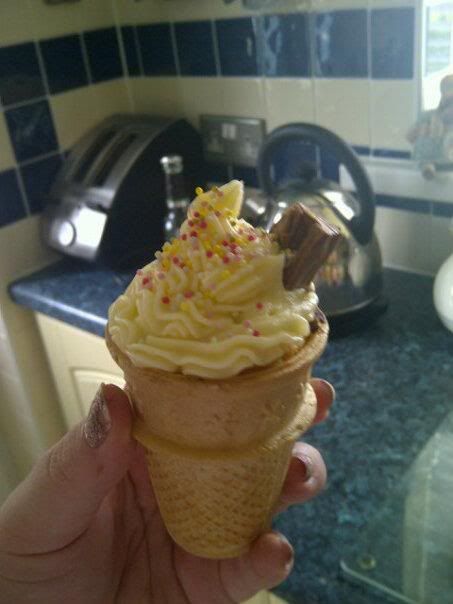
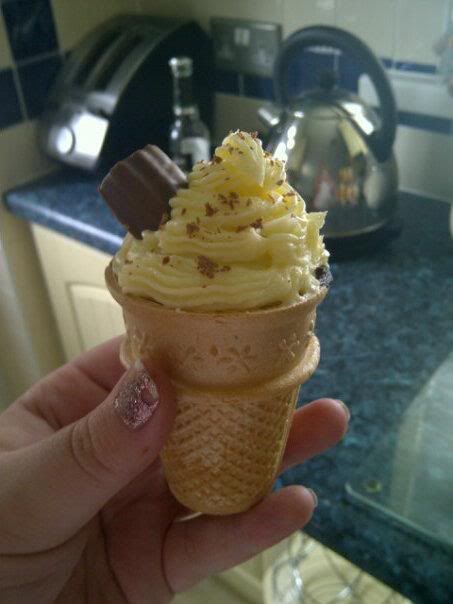
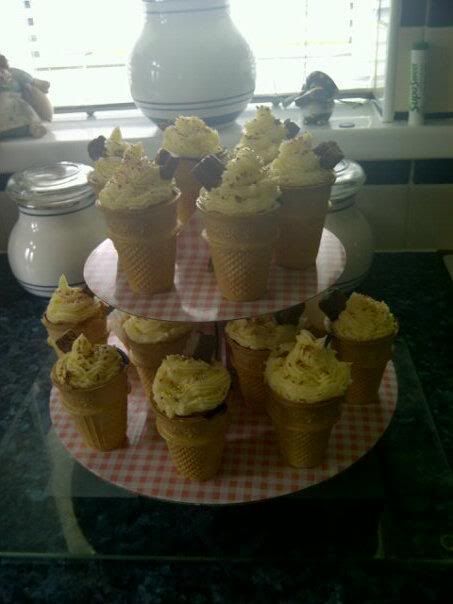
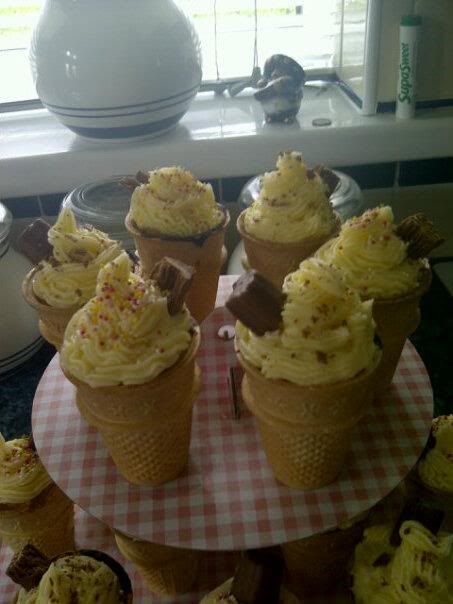
Ice Cream Cone Cupcakes!
The recipe for these came from here.

Ingredients for 12-14 Cone Cupcakes:
12-14 Cornets (on offer at Tesco for £1 atm)
170g Caster Sugar
170g Butter
3 Free Range Eggs
170g Self Raising Flower
1 teaspoon of Vanilla Extract

Recipe:
1. Preheat the oven to 180 degrees.
2. Place the cones in a muffin tin.
3. Cream together the butter and sugar until pale and fluffy.
4. Add the eggs one at a time and beat well.
5. Fold in the flour and vanilla extract until mixed well.
6. Place a large spoonful in each one (I would pipe the mixture in future as any over spill causes burning of the cones).
7. Bake for 20minutes or until a knife comes out clear.
8. Leave to cool.

Buttercream ingredients:
250g Butter
500g Icing Sgar
1/2 a teapsoon of Vanilla Extract
Decorations

Recipe:
1. Mix the icing sugar, butter and vanilla extract until smooth, if the mixture is too stiff add a dash of milk to soften it. 
2. Pipe on to the cakes from the outside in.
3. Decorate with a flake and add decorations as you wish. I used crushed chocolate and 100's & 1000's.